Gluten Free Baking: Tips and Tricks for Perfect Results Every Time
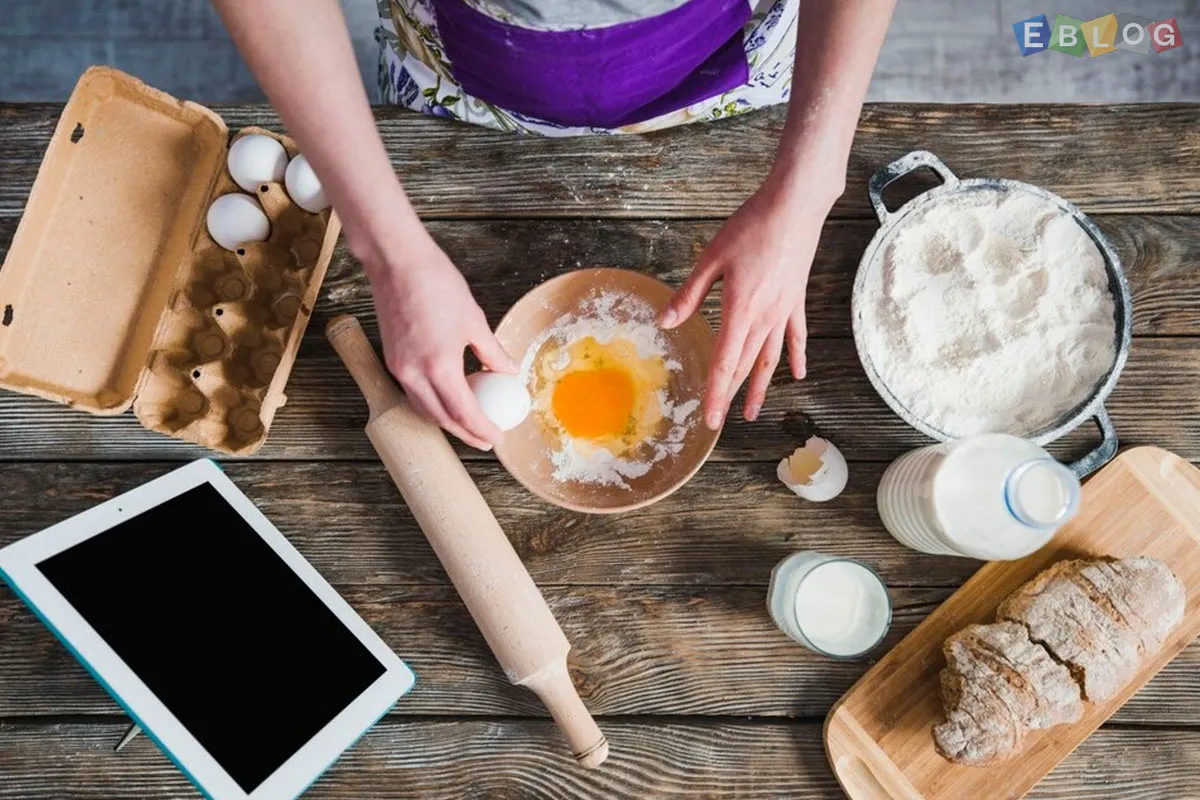
Gluten-free baking can feel like a daunting challenge, especially if you’re used to traditional recipes. The absence of gluten, which provides elasticity and structure, often leads to crumbly textures, dense results, or dry baked goods. However, with the right techniques and ingredients, you can achieve gluten-free treats that are just as delicious and satisfying as their gluten-filled counterparts. Here’s a guide to help you master gluten-free baking with ease.
1. Understand Your Flour Blends
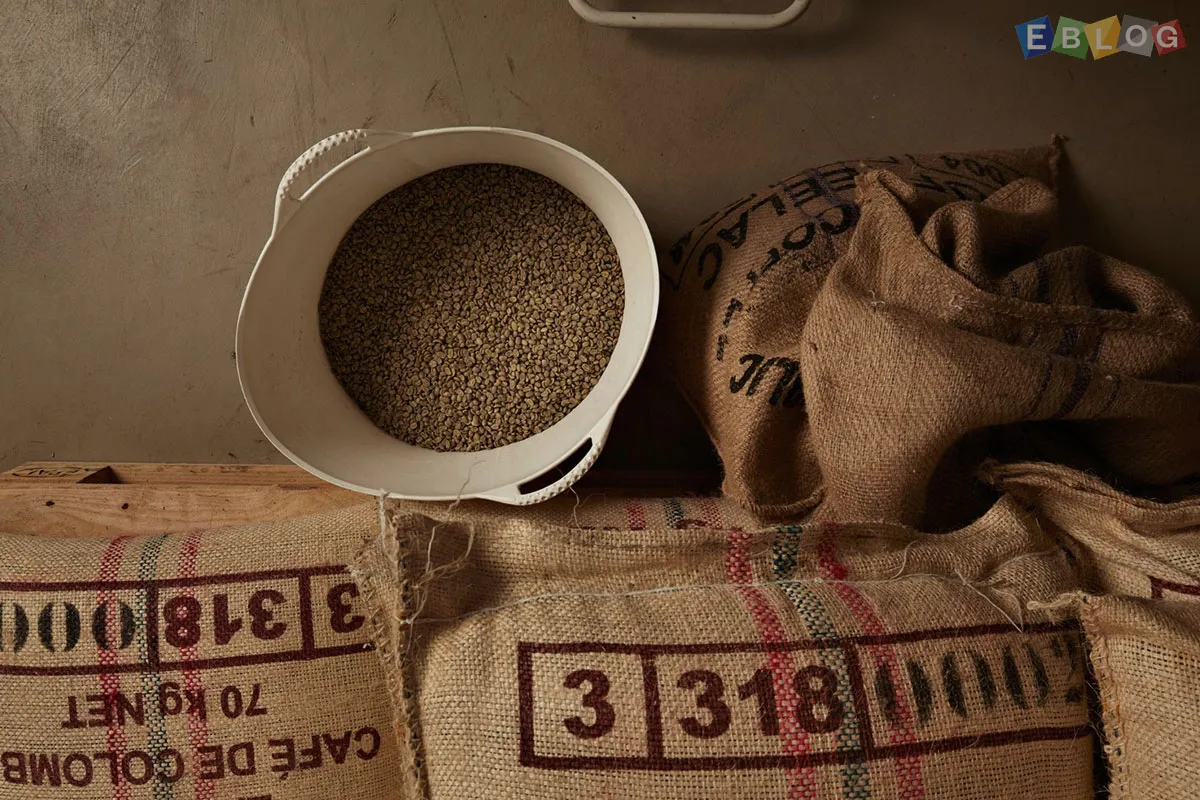
One of the biggest challenges in gluten-free baking is selecting the right flour. No single gluten-free flour can replace wheat flour on its own. Typically, a blend of flours and starches is needed to achieve the right texture and flavor. Popular gluten-free flours include:
a. Almond flour: Adds moisture and a rich, nutty flavor.
b. Rice flour: A versatile base for many gluten-free blends.
c. Tapioca starch: Helps with chewiness and stretch.
d. Potato starch: Adds lightness to your baked goods.
Many pre-made gluten-free flour blends are available and can simplify the process. Look for blends that already contain xanthan gum or guar gum, which mimic gluten’s binding properties.
2. Add Binding Agents
Gluten-free flours often lack the elasticity that gluten provides. To compensate, adding binding agents like xanthan gum, guar gum, or psyllium husk is essential. These ingredients help give your baked goods structure, keeping them from falling apart or becoming overly dense.
a. Xanthan gum: Commonly used in gluten-free baking, it helps hold ingredients together.
b. Guar gum: A plant-based alternative that also works well in gluten-free recipes.
c. Psyllium husk: Adds both elasticity and moisture to doughs, particularly in bread recipes.
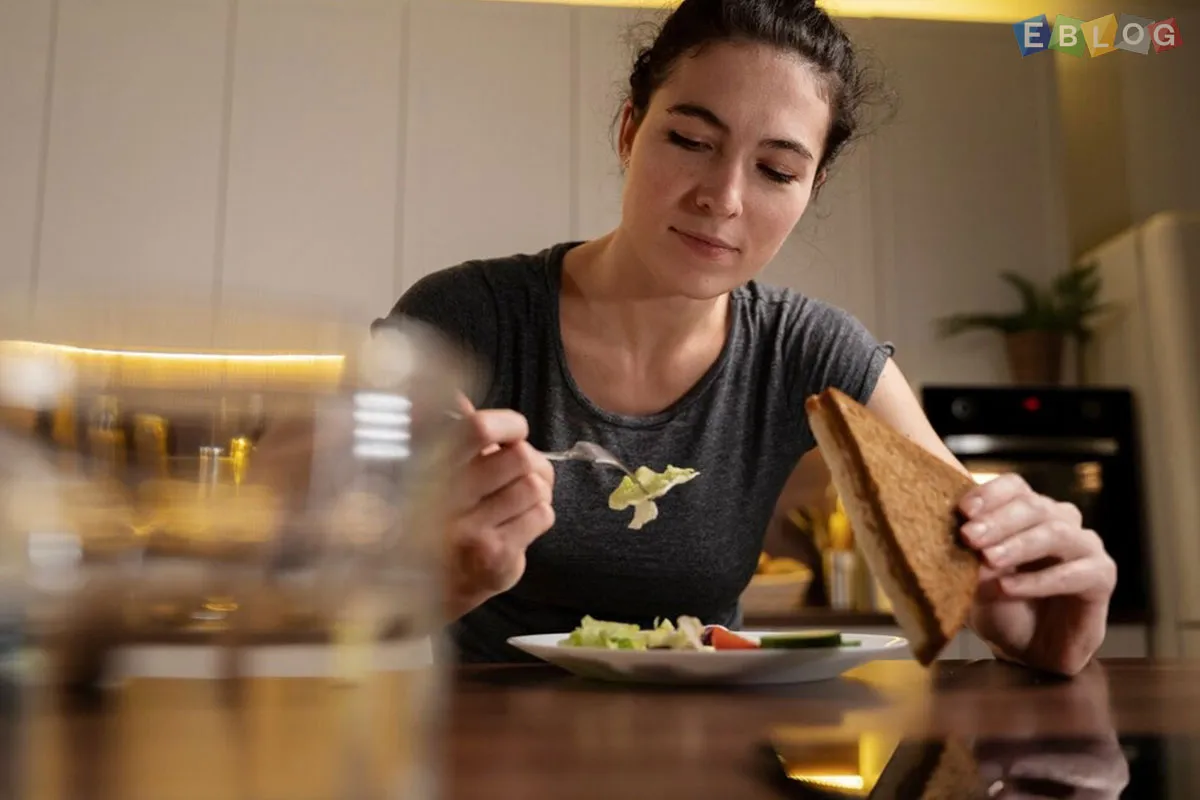
3. Moisture Is Key
Gluten-free baked goods are prone to drying out quickly. To counteract this, it’s essential to keep moisture levels high. Here are some tips:
a. Use ingredients like yogurt, sour cream, or applesauce to add moisture.
b. Incorporate extra eggs for richness and structure.
c. Consider adding a bit more fat, like oil or butter, for a tender crumb.
4. Be Patient with Your Dough
Gluten-free doughs and batters often have different consistencies compared to traditional ones. Don’t be alarmed if your dough feels wetter or stickier than what you’re used to. Letting the dough rest for 20-30 minutes before baking allows the flour to fully hydrate and helps improve texture.
5. Adjust Your Baking Time and Temperature
Gluten-free baked goods can brown faster than their wheat-based counterparts due to the different flours used. Keep a close eye on your treats, and if needed, lower the oven temperature by 25°F (around 15°C) and bake a little longer to ensure even cooking without over-browning.
6. Use the Right Equipment
Using the correct tools can make a big difference in gluten-free baking. For example:
a. Silicone baking mats or parchment paper prevent sticking, which can be an issue with gluten-free doughs.
b. Loaf pans with higher sides can help gluten-free bread rise better.
7. Experiment and Don’t Give Up!
Gluten-free baking often involves some trial and error, especially when trying new recipes. Don’t be discouraged if your first attempt isn’t perfect. Take notes on what worked and what didn’t, and tweak your approach as you go.
8. Conclusion
Gluten-free baking may come with its challenges, but with the right techniques and ingredients, you can create delicious, high-quality baked goods every time. Focus on finding the right flour blend, maintaining moisture, and giving your dough the time it needs to develop. With these tips, your gluten-free creations will be flavorful, tender, and sure to impress even those who don’t follow a gluten-free diet. Happy baking!


Leave a Reply